
Direct Answer: Fixing the threading on a vape pen involves cleaning the threads, adjusting the connection plate, or using a conductive epoxy for more severe cases.
Introduction
Vaping has become a popular alternative to traditional smoking, but like any device, vape pens can encounter issues. One common problem is damaged or stripped threading. This article will guide you through the process of fixing the threading on your vape pen, ensuring you can continue to enjoy your vaping experience.
Understanding the Problem
What is Threading on a Vape Pen?
The threading on a vape pen refers to the screw-like structure that connects the battery to the cartridge. It’s typically referred to as a 510 thread, which has become the standard in the industry.
Why Does Threading Get Damaged?
Threading can get damaged due to over-tightening, cross-threading (when threads don’t align correctly), or simply through regular wear and tear.
Read also: How to Make Vape Oil with LEVO 2
How to Fix Your Vape Pen Threading
Step 1: Clean the Threading
Sometimes, the issue can be as simple as dirty threads. Use a cotton swab dipped in rubbing alcohol to clean both the 510 thread of the cartridge and the port on the battery.
Step 2: Adjust the Connection Plate
If cleaning doesn’t work, the issue might be with the connection plate. Use a paper clip or similar tool to gently lift the connection plate. Be careful not to apply too much force as this can cause further damage.
Step 3: Use a Conductive Epoxy
For more severe cases where the threads are stripped, a conductive epoxy can be used to repair the threads. This should be considered a last resort and performed with caution.
Vape Pen Threading
Vape pens, also known as e-cigarettes, vaporizers, or vapes, use various threading and connector styles to allow different parts to be attached together. The most common threading style used in vape pens is called 510 threading.
510 refers to the threaded connector standard with a 10mm diameter and 10 threads per inch. Most atomizers, cartridges, and batteries used in vape pens feature 510 threading to allow for interchangeability between different brands and models. This standardization makes finding replacement parts and upgrading vape pen components much easier for consumers.
Other common threading types found on vape pens include:
- 808 – A smaller diameter threading less commonly used today. Not compatible with 510 threads.
- 601 – An older standard also being phased out like 808 threading.
- PAX – Proprietary threading used only on PAX brand vaporizers. Not interchangeable.
- Magneto – Magnetic connections rather than threaded. Found on certain vape models.
One issue that can occur with vape pen threading is “crossthreading” where the threads are not properly aligned before tightening. This can strip gears and cause permanent damage. To avoid crossthreading, turn backwards gently until threads drop into place before tightening. Keeping threading clean and undamaged also prevents issues connecting components.
510 Thread Issues
As the most common standard for vape cartridge connections, 510 threading is susceptible to a number of potential issues that can affect vaping performance and enjoyment. Some problems that can occur with 510 threaded vape connections include:
- Stripped gears – Over-tightening or forcing connections can strip the metal gears of 510 threads, making them impossible to fasten properly.
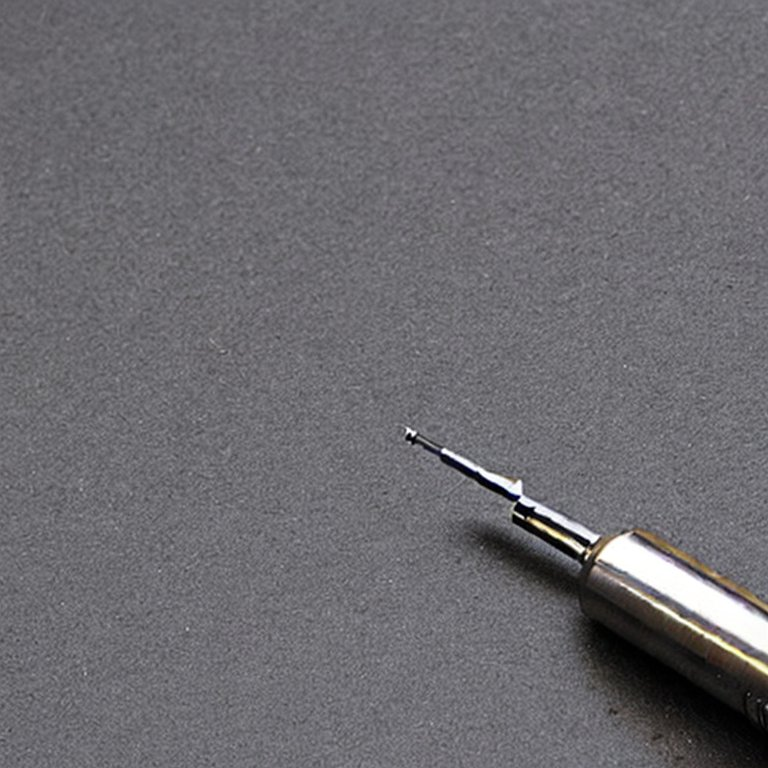
- Bending pins – The center pin on 510 connections that transmits power can get bent or pushed down too far, disrupting electrical conductivity.
- Sticky threads – Build up of oil residue within threading can lead to sticky, stuck connections.
- Misaligned threads – Attempting to force cross-threaded connections can damage the thread gears.
- Dirty threads – Dust, pocket lint, and other debris on the threads can prevent proper connections.
- Connection gaps – Imperfect connections between cartridge and battery can cause intermittent power and burnt hits.
- Broken wires – Detached or severed contact wires in the threading can lead to no power transmission.
- Corrosion – Thread corrosion from liquids, salt, or chemicals can degrade conductivity.
Proper handling, cleaning, and maintenance is key to minimizing issues with 510 threaded vape connections. Avoid over-tightening, gently cleaning threads, and inspecting for damage reduces problems.
Read also: https://howtovape.pro/how-to-use-mfused-vape-pen/
Rythm Vape Pen Charging
Rythm is a vape pen brand that manufactures both batteries and cartridges designed specifically for use together. However, many users run into problems getting Rythm pens to charge properly. Here are some tips for troubleshooting Rythm vape pen charging issues:
- Try a different USB charger – Rythm batteries are fitted with a standard micro USB port. Try connecting to a different charger in case the original is defective.
- Wiggle and secure connections – Loose micro USB cables can prevent charging. Try gently wiggling the cable while inserted to get a better connection.
- Check the charging port – Inspect the micro USB port for any obstructions or damage like bent pins. Debris or moisture can block connections.
- Let battery fully die – For lithium-ion batteries, letting the Rythm pen die completely before charging sometimes resets its charging capacity.
- Try charging for longer – Slow charging batteries may require leaving pens plugged in overnight to fully charge rather than just a few hours.
- Clean battery contacts – Dirty electrical contacts on the battery from leaks, oils, etc can impede connections. Clean gently with a cotton swab and rubbing alcohol.
- Check battery lights – Rythm pens signal charging status through colored flashing indicator lights. Refer to manuals for light meanings.
- Contact manufacturer – If charging issues persist after trying the above, contact Rythm support about a possible defective battery in need of replacement.
With some basic troubleshooting, most Rythm vape pen charging issues can be resolved. Proper maintenance and battery care will also help prevent problems.
Cleaning 510 Threads
Since most vape cartridges today use the universal 510 threading standard, keeping these threads clean is essential for proper vaping function. Here are some tips for effectively cleaning 510 threads:
- Use isopropyl alcohol – The most common cleaning agent for 510 threads is isopropyl alcohol, ideally 90% or higher purity. Moisten a cotton swab or soft cloth.
- Wipe threads gently – Apply isopropyl alcohol to the threads and wipe gently using a rolling motion to work debris free. Take care not to bend or damage threads.
- Clean outer rim – Pay attention to cleaning the outer rim of the threads where buildup often occurs. But avoid getting alcohol down into the battery or cart connections.
- Allow to fully dry – After wiping away grime, let the remaining alcohol fully evaporate before reconnecting or using the device. Extended contact can damage parts.
- Check for stains – If any dark stains remain after cleaning, this may indicate corrosion that requires replacement of the damaged part. Stains signal loss of conductive metal.
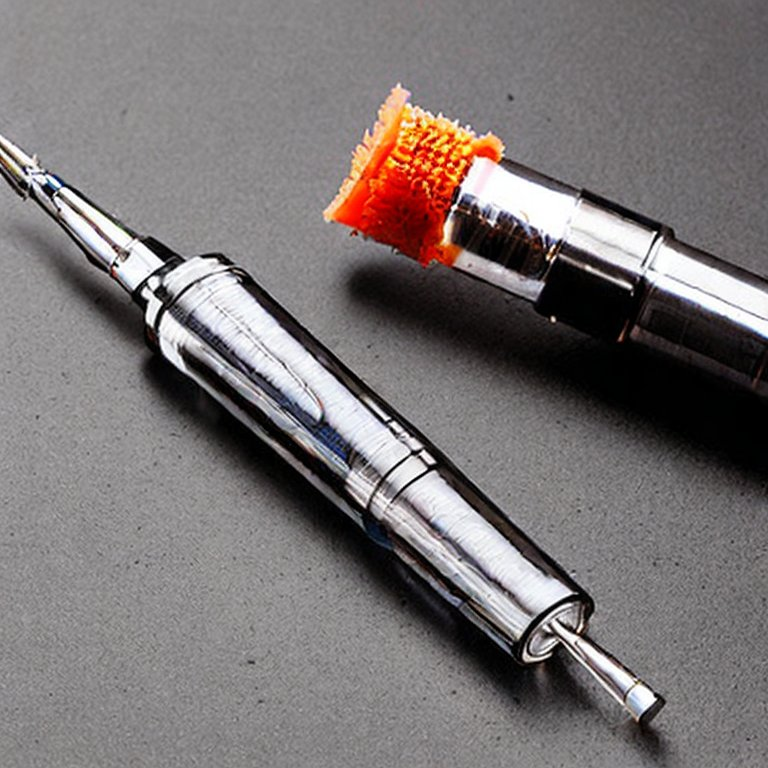
- Use thread cleaning tools – Small thin tools designed for cleaning threaded parts can reach debris that cotton swabs may miss. Use gently.
- Inspect for damage – When cleaning, check that threads are not stripped or gears bent. Any damage will interfere with connections.
- Prevent future buildup – Avoid touching threads with fingers which can transfer oils and dirt. Also tighten connections gently to prevent stripping gears.
Regular, careful cleaning of 510 threads will maintain conductivity and prevent poor connections that lead to power issues, inconsistent drags, and burn hits.
Fixing Dab Pens
Dab pens, used to vaporize cannabis concentrates and oils, can run into issues just like standard vape pens. Here are some troubleshooting tips for fixing common dab pen problems:
- Clogged atomizer – The heating coil often gets clogged with thick oil. Open the pen and gently clean the ceramic heating element with isopropyl alcohol and a cotton swab.
- Broken heating element – If the coil isn’t lighting up at all, the wire connection may be severed. This requires replacing the atomizer.
- Battery not charging – Like normal pens, try a different charger and USB cable, and clean the charging port of debris.
- Oil leaking – If leaks occur, the cartridge may be faulty or overfilled. Wipe any residue and replace the cartridge. Make sure new carts are sealed properly.
- Button not working – Dab pens with manual buttons may have sticky mechanisms. Carefully clean the button area with a cotton swab and rubbing alcohol.
- Connection issues – Clean any 510 threading buildup preventing proper cartridge connections.
- Not producing vapor – This typically indicates depleted battery charge. Fully recharge the dab pen if the coil is heating up but no vapor forms.
- Burnt, bad taste – Burnt tastes mean the wick and coil need cleaning or the voltage is too high. Lower heat settings may help.
With close inspection and cleaning of each component, most dab pen functionality can be restored. Proper handling and maintenance will prevent many common issues.
Read also: https://howtovape.pro/how-to-take-apart-a-swft-vape-safely/
Preventing Burnt Vape
Nothing ruins the taste and enjoyment of vaping like getting a nasty burnt hit off your vape pen or mod. Here are some tips to help prevent burnt, singed hits while vaping:
- Lower temperature – If vapor tastes scorched, turn down the heat settings on variable voltage/wattage mods to avoid burning wicks.
- Clean heating element – Coils and plates can get gunked up with caramelized liquid causing burnt flavor. Clean gently with rubbing alcohol.
- Replace old atomizer – Atomizers lose heating efficiency over time. Swap in a new coil or cartomizer for optimal performance.
- Check e-liquid level – Burnt hits result when cotton wicks dry out. Refill tanks and cartridges when e-juice falls below recommended levels.
- Avoid long drags – Prolonged puffs can overwhelm the wick’s juice saturation leading to singeing. Keep puffs short and spaced apart.
- Check VG/PG ratios – E-liquids with higher vegetable glycerin (VG) are thicker and wick slower compared to propylene glycol (PG) blends. Choose ratios optimized for your vaping device.
- Prime the wick – Before first use, saturate the wick by adding a few drops of e-liquid directly on the coil and letting it soak in to prevent early drying.
- Break in new coils – Start new atomizers at low wattage/voltage settings and work upwards slowly to properly break-in.
Following these tips will minimize the chances of getting foul, burning tastes while vaping. Proper e-liquid viscosity, wick saturation, and coil maintenance prevents burnt hits.
Vape Pen Troubleshooting
Vape pen issues like power loss, leaking, and spitback can ruin your vaping experience. Here is a general troubleshooting guide for common vape pen problems:
- Battery not charging – Try different chargers, wiggle charging cables for better connection, check port for debris, and inspect battery light indicator meanings.
- Burnt taste – Lower temperature, clean heating coil, replace old atomizer, refill e-juice. Also check VG/PG ratio is right for your pen type.
- Leaking – Wipe leaked liquid from the battery connection. Ensure cart/tank is properly installed and sealed. Inspect for cracks and replace if defective.
- No power – Check battery charge level. Try charging overnight. Clean battery connection points and check for broken wires.
- No vapor – Low battery is a likely cause. Check e-juice level and refill if low. Possible clogged coil or dead heating element.
- Spitback – Occurs when e-liquid pops and spits in the mouth. Usually from overfilled cartridge. Wipe off any excess e-juice in the mouthpiece area.
- Loose parts – If tank or mouthpiece won’t stay on, connections may be worn. Replace faulty parts if cleaning threads doesn’t help. Avoid overtightening.
- Blinking light – Consult manual for the battery light pattern meaning. Usually indicates charging issues or faulty battery if blinking abnormal.
- Gurgling – Excess juice flooding the coil causes gurgling sounds. Clean tank parts, don’t overfill, and adjust airflow settings.
Following the device manual troubleshooting tips when issues arise can resolve most common vape pen problems and get you back to enjoying smooth, flavorful vapor.
Conclusion
Fixing the threading on your vape pen can be a simple process if you know what to look for. Remember, the key is to be gentle and thorough in your approach to avoid causing further damage. Happy vaping!
Read also: How to Turn On Your Yocan Vape
People also ask
Key Points to Remember
- Threading refers to the connection between the battery and the cartridge.
- Damaged threading can be caused by over-tightening, cross-threading, or regular wear and tear.
- Fixing threading involves cleaning the threads, adjusting the connection plate, or using a conductive epoxy.
Note: Always ensure to handle your vape pen with care to avoid damaging the threading or any other components. If you’re unsure about any of the steps, it’s best to consult with a professional or experienced vaper.
