

Vaping has surged in popularity over the past decade, with vapers enjoying the wide array of flavored e-liquids and advanced devices available. However, technical issues can arise with any vape device, with “atomizer short” errors being one of the most common.
This comprehensive guide will provide proven troubleshooting tips and solutions to fix atomizer shorts on devices from leading brands like GeekVape, Smok, Voopoo and more.
What Causes an Atomizer Short?
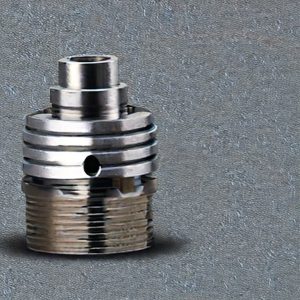
An atomizer short typically occurs when there is an unexpected electrical connection between the atomizer coil and the base of the vape tank.[1] There are several potential causes of atomizer shorts:
- Damaged or worn out coil – Normal use can degrade coils over time, eventually leading to burned out spots or breaks in the wrapping which allow a short circuit. This is the most common cause.
- Issues with coil installation – If the coil is not properly seated in the tank base, is screwed in too loose or too tight, it can create an unstable connection and short circuit.
- Foreign object/debris – Small bits of metal, wire or other conductive material that find their way into the tank can touch the base and coil, creating a short path. E-liquid residue buildup can also trap debris.
- Tank base defects – In rare cases, manufacturing defects in the threading or contacts on the base can precipitate a short.
Steps to Fix Atomizer Short on Geek Vape
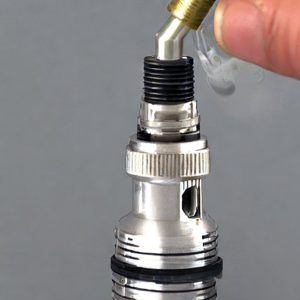
Step1: Check the Coil
Inspect the coil for any visible damage or burns. If it looks charred or misshapen, consider replacing it with a new one.
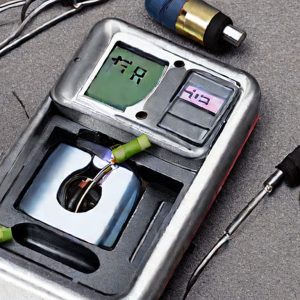
Step 2: Clean the Tank
Dismantle the tank and rinse it under warm water. Ensure you remove any debris or e-juice residues. Allow it to air dry or use a soft cloth.
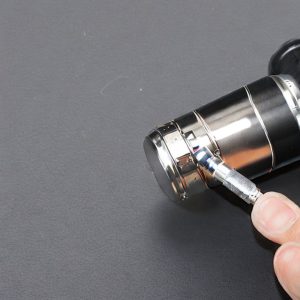
Step 3: Re-seat the Coil
Sometimes, the coil might be misaligned. Ensure that it’s seated properly and screwed in place securely.
Step 4: Inspect the Base
Examine the base of the atomizer for any foreign objects or residues. A thorough cleaning might be necessary if there’s any accumulation.
Step 5: Update the Firmware
Visit the official Geek Vape website and check if there are any firmware updates for your device. Updated firmware can sometimes resolve known issues.
Step 6: Test with Another Tank
If you have another tank available, connect it to your Geek Vape device. This will help determine if the issue lies with the atomizer or the mod.
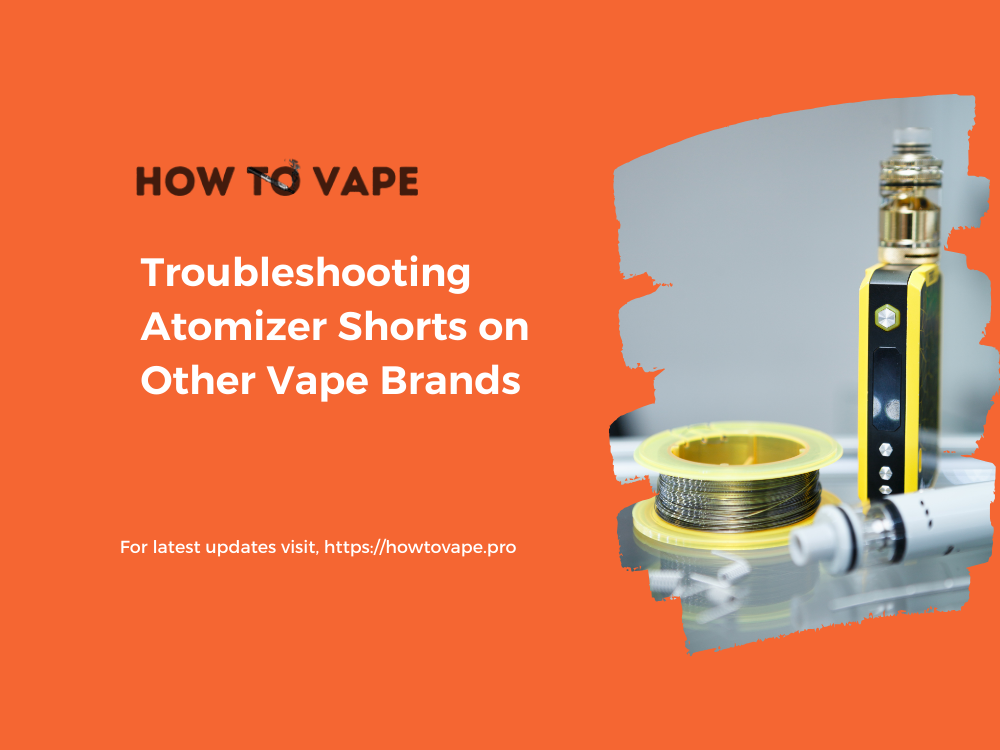
Troubleshooting Atomizer Shorts on Other Vape Brands
The techniques above can be applied to troubleshoot atomizer shorts on most major vaping devices with some brand-specific tips:
Smok – As with GeekVape, focus on coil replacement, debris removal and proper coil installation. Be sure to detach the tank fully and reseat it to reset contacts. Update firmware if possible.
Voopoo – Voopoo’s PNP coils are press-fit so check for proper snap-in fitment. Clean the gold contact pins well as Voopoo tanks suffer more conductive debris issues according to users.[4]
Vaporesso – For mods like the Luxe or Gen, rub the coil contacts with alcohol to remove e-juice buildup. The press-fit coils can also work loose and cause shorts.
Freemax – Freemax Fireluke coils are one of the most reliable, but occasional duds happen. Weight the top of the tank while screwing on the base to ensure a tight seal.
Wismec – Check under the base contact disc for tiny wire clippings which can create shorts. Their press-fit coils can also loosen over time.
Best Practices to Avoid Atomizer Shorts
While shorts can’t always be prevented, following some basic best practices will reduce the frequency:
- Replace coils every 1-2 weeks with average use to prevent burning out
- Clean all tank components weekly to prevent buildup of gunk
- Ensure coils are fully seated and securely threaded when installing
- Close airflow before filling tank to prevent e-liquid spills into base
- Avoid over-tightening coils which can crush the casing
- Visually inspect coils frequently for dark spots indicating degradation
- Update firmware whenever available for your device
Conclusion
Atomizer shorts can be an annoying occurrence for vapers, but identifying the underlying cause and applying targeted troubleshooting allows the issue to be quickly resolved in most cases. With a worn out coil being the primary culprit, keeping spare replacement coils on hand and swapping them out at the first sign of degradation is advisable.
Regular cleaning and maintenance combined with proper coil installation goes a long way towards preventing shorts. However, even following best practices, shorts can still periodically occur due to manufacturing defects or unforeseen debris issues. By methodically trying the recommended steps and process of elimination tactics outlined above, vapers can get their device back up and running optimally.
While shorts on certain brands like Smok and Voopoo require some nuanced troubleshooting, the same core principles apply across most devices. Don’t hesitate to leverage vaping forums and brand resources for additional troubleshooting advice. With some persistence, atomizer short errors can be conquered!
People also ask
Some Related Articles You Might Also Like
