
Vaping has quickly evolved from a niche hobby into a worldwide phenomenon. With the rise in popularity, the intricacies of the vape pen have become of interest to users around the globe.
Vaping has exploded from a niche hobby into a global phenomenon, with millions of users wanting to understand the intricacies of their vape pens. One critical aspect is learning how to fully disassemble your vape pen for optimal cleaning, maintenance, and customization.
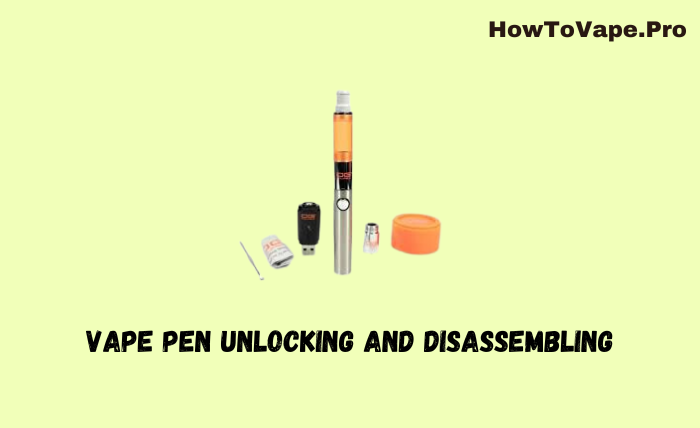
One particular aspect, unlocking and disassembling your vape pen, is essential for maintenance, troubleshooting issues, and customization. Today, we delve deep into the practical steps of vape pen unlocking and disassembling.
Understanding the Basics
Before you dive into the nitty-gritty of unlocking and disassembling your vape pen, it’s paramount to understand the core components that make up this device:
- Battery: This powers the device and can be built-in or replaceable. Not sure how to charge specific vape pen models? See our guides on how to charge a Cartisan vape pen, how long to charge Hyde vape with 4500 puffs, and how to charge a Verano disposable vape pen.
- Atomizer – The heating component that turns liquid into vapor.
- Coil – Found inside the tank, this metal piece gets heated by the battery to vaporize e-liquid.
- Tank – Holds and supplies e-liquid to the coil. Detachable on most vape pens.
- Mouthpiece – The tip users inhale vapor from. Can be detachable or built-in.
- E-Liquid – The vape juice that contains nicotine, flavors, and other ingredients. Stored in the tank.
How Do Vape Pens Produce Vapor?
Here’s a quick rundown of how these components work together:
- The battery supplies power to the heating coil inside the tank.
- The coil gets hot and vaporizes the surrounding e-liquid.
- Vapor gets pulled up to the mouthpiece as the user inhales.
- Vapor is inhaled, delivering a hit of nicotine and flavor.
When disassembling your vape pen, it helps to keep this simple functionality in mind.
Step-by-Step Guide to Unlocking and Disassembling Any Vape Pen
Now that you’re familiar with the basics, let’s dive into the nitty gritty of fully disassembling a vape pen for optimal cleaning and maintenance.

Materials Needed
Before getting started, assemble the following tools:
- Cloth or paper towels
- Q-tips
- Small brush
- Tweezers (preferably ceramic)
- Screwdriver set
- Needle nose pliers (optional)
- Latex gloves
- Eyeglasses (for eye protection)
- Vape pen instruction manual
Having these supplies handy will make disassembly easier and prevent losing small parts.
Unlocking Your Vape Pen
Most vape pens incorporate a locking feature to avoid inadvertent firing. Typically, unlocking requires pressing the firing button a number of times in a quick succession — usually five presses within two seconds. However, the procedure might slightly differ depending on the vape pen’s brand and model.
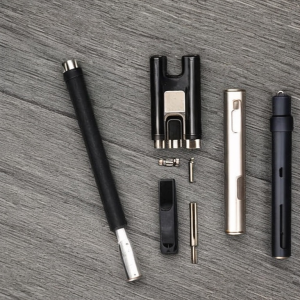
Disassembling Your Vape Pen
Before you start:
Step 1: Switch off your vape pen
You can usually achieve this by pressing the fire button five times.
Step 2: Remove the mouthpiece
This top part, from where you inhale the vapor, can typically be unscrewed or merely popped off.
Step 3: Detach the tank
This component holds the e-liquid and can be separated from the battery unit by unscrewing.
Step 4: Unscrew the coil
Located inside your tank, after detaching the tank, the coil can be unscrewed from the base.
Step 5: Remove the battery
Batteries vary per model. Some are built-in, while others can be unscrewed from the vape pen’s base.
Step 6: Clean and maintain
Now that your vape pen is disassembled, you’re all set to clean and maintain each part. Always consult the user’s manual for your specific vape pen model for detailed instructions.
Cleaning and Maintaining Vape Pen Parts
With your vape pen fully disassembled, let’s go over how to properly clean and maintain each component.
Cleaning the Tank
Tanks can accumulate e-liquid residue and gunk over time. For optimal performance, deep clean regularly.
Disassemble the tank fully. Soak all parts in warm water mixed with a few drops of dish soap for 15 minutes. Scrub inside the tank with a small brush.
Rinse everything thoroughly with hot water and allow to fully dry before reattaching.
Cleaning the Mouthpiece
Mouth gunk can build up on the mouthpiece over time. Give this part a regular cleaning too.
Disassemble any component pieces and soak in a bowl of rubbing alcohol for 5-10 minutes. Use a cotton swab saturated in alcohol to scrub inside the mouthpiece.
Rinse with hot water and dry fully.
Replacing the Coil
Burnt, gunked up coils negatively impact vapor quality. Replace coils every 1-3 weeks.
Unscrew the old coil and detach. Screw a new coil in firmly. Make sure threads line up – never force threads.
Break in new coils by starting at a low wattage and working upwards.
Charging Batteries Properly
Proper battery maintenance is key to vape pen longevity. Use the charger designed for your specific model.
Never overcharge. Remove from the charger once fully charged. Stick to the voltage and amperage ratings.
Let batteries fully drain once a month before recharging. This helps calibration.
Rotate between multiple batteries instead of using one continuously.
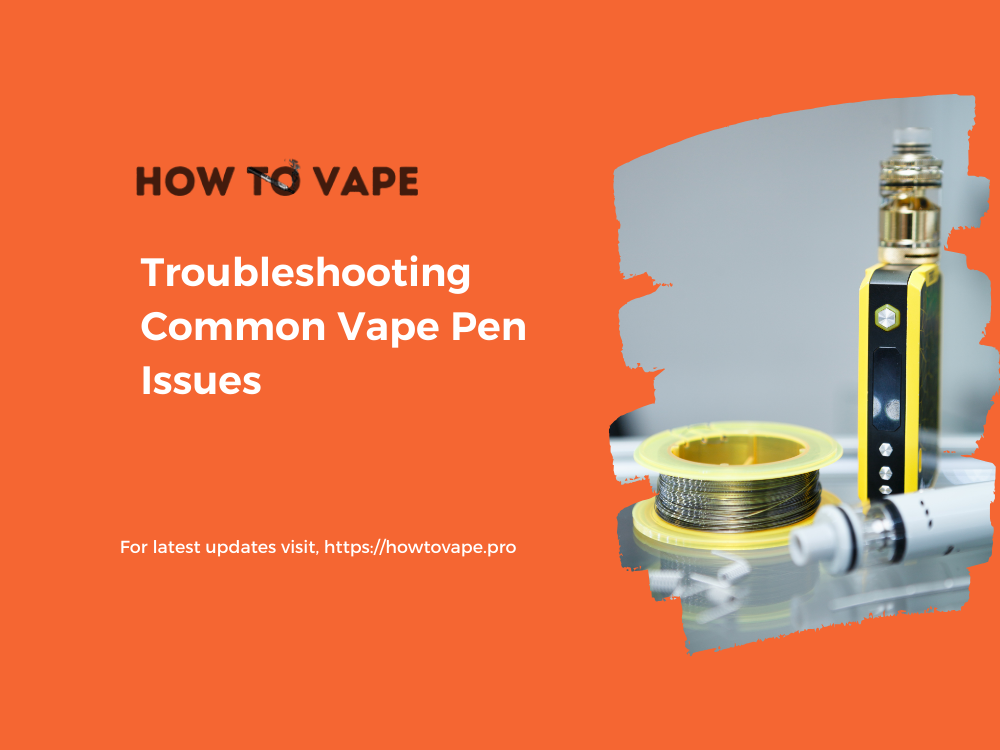
Troubleshooting Common Vape Pen Issues
Learning to troubleshoot vape pen problems can avoid costly repairs or replacements. Here are some top issues and solutions.
Leaking Tank
- Tighten the tank, coil, and mouthpiece so all fittings are snug
- Replace old coil and o-rings
- Make sure air holes aren’t clogged
- Don’t overfill tank
Battery Won’t Charge
- Try different charger designed for your model
- Clean battery contacts
- Check for broken charging port
- Attempt jump starting battery
Burnt Taste
- Replace old coil
- Make sure coil is properly saturated
- Don’t vape e-liquid low on fluid
- Lower wattage
Low Vapor Production
- Charge battery fully
- Clean tank, mouthpiece, and airways
- Replace coil
- Make sure e-liquid isn’t too thick
- Check for correct wattage
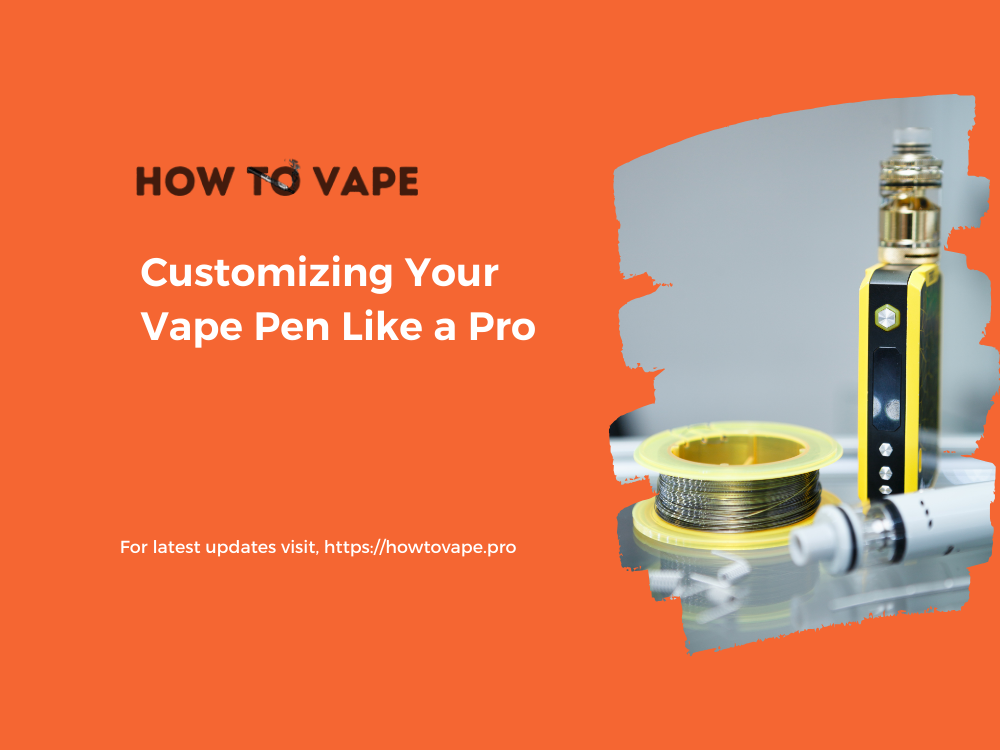
Customizing Your Vape Pen Like a Pro
One benefit of disassembling your vape pen is customizing it more extensively. Try these expert custom mods.
Aftermarket Mouthpieces
Replace the stock mouthpiece with a custom glass or acrylic model for enhanced durability and aesthetic. Carefully measure diameter.
LED Lights
Add LED lights inside the battery housing or around the tank for a cool glowing effect. Use a low-voltage button cell battery pack.
Vinyl Wraps
Personalize your vape pen with vinyl wraps. Carefully measure the diameter of each component before ordering custom wraps. Consider a matching set.
Sub-Ohm Coils
More advanced vapers can install lower resistance sub-ohm coils for gigantic plumes. Take proper battery safety precautions.
The possibilities are endless for customizing a disassembled vape pen
Wrapping Up
Understanding the nuances of vape pen unlocking and disassembling can dramatically enhance your vaping experience. It not only ensures longevity of your device but also assures optimal performance.
Always make it a point to revisit your device’s manual or the manufacturer’s guidelines to ensure you’re managing your equipment appropriately.
Conclusion
The key steps are unlocking the pen, detaching the mouthpiece, removing the tank, taking out the coil, and finally separating the battery. Having the proper tools, like tweezers and a small brush, makes disassembly easier.
With your vape pen disassembled, you can soak and scrub all parts to remove gunk and residue. This keeps your pen performing optimally. Replacements coils should be swapped out every 1-3 weeks for best vapor production.
Properly caring for batteries by recharging correctly and rotating through multiple units extends vape pen lifespan. And disassembly opens up endless possibilities for custom mods like new mouthpieces, LEDs, and wraps.
