
Vaping has quickly grown as an alternative to traditional cigarette smoking. For those new to vaping, it can seem confusing at first.
Vaping has rapidly grown in popularity as an alternative to traditional cigarette smoking. But for those new to vaping, the different devices, e-liquids, and maintenance can seem confusing at first.
This guide will walk through the steps on How to Use a Vape, from filling the tank and priming new coils to basic maintenance and troubleshooting tips.
Follow these basics to ensure you have an enjoyable vaping experience.
Step-by-Step Guide
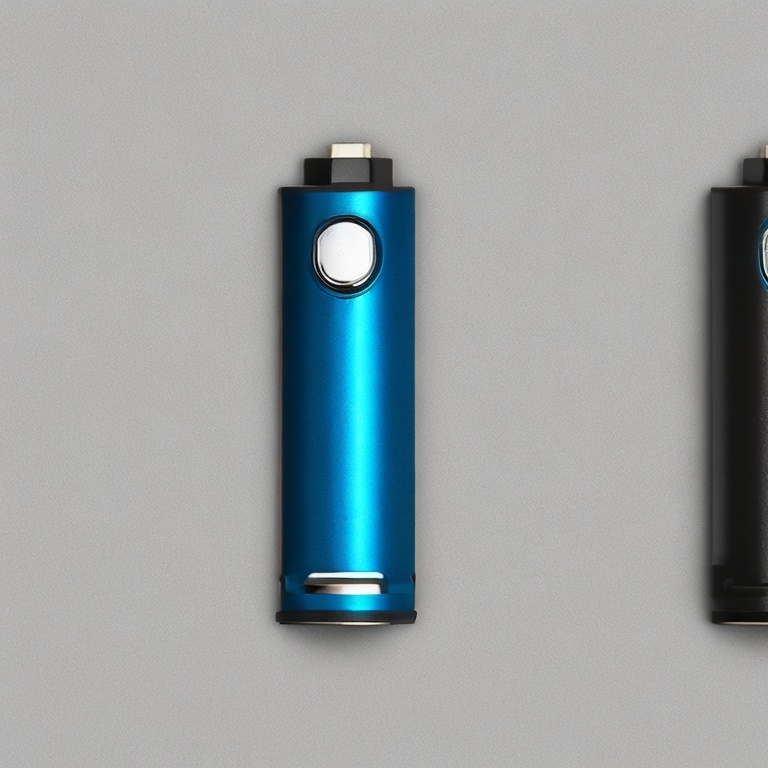
Step One: Selecting the Right Vaping Device
The first step is choosing the right vape pen, pod system, or mod for your needs as a beginner. Key factors to consider include:
Battery Type
- Cig-a-like – Resembles a traditional cigarette with a disposable, non-rechargeable battery. Best for minimal vaping.
- Vape pens – Slim and lightweight with smaller built-in batteries. Easiest to use for beginners.
- Pod vapes – Use pre-filled or refillable pods for convenience. More power than pens.
- Box mods – Larger, high-powered devices with customized settings and external batteries. For advanced vapers.
Ease of Use
Look for intuitive controls and preset options if you’re new to vaping. Beginner-friendly devices include vape pens, pod systems, and AIO (all-in-one) mods with simple menu interfaces.
Cost Considerations
Initially, examine the cost of the device itself as well as ongoing expenses like coils and e-liquid. Pod systems tend to be more affordable overall for beginners.
Once you select the ideal starter vape based on your needs and budget, you’ll be ready to move onto filling, prepping, and using your new device.
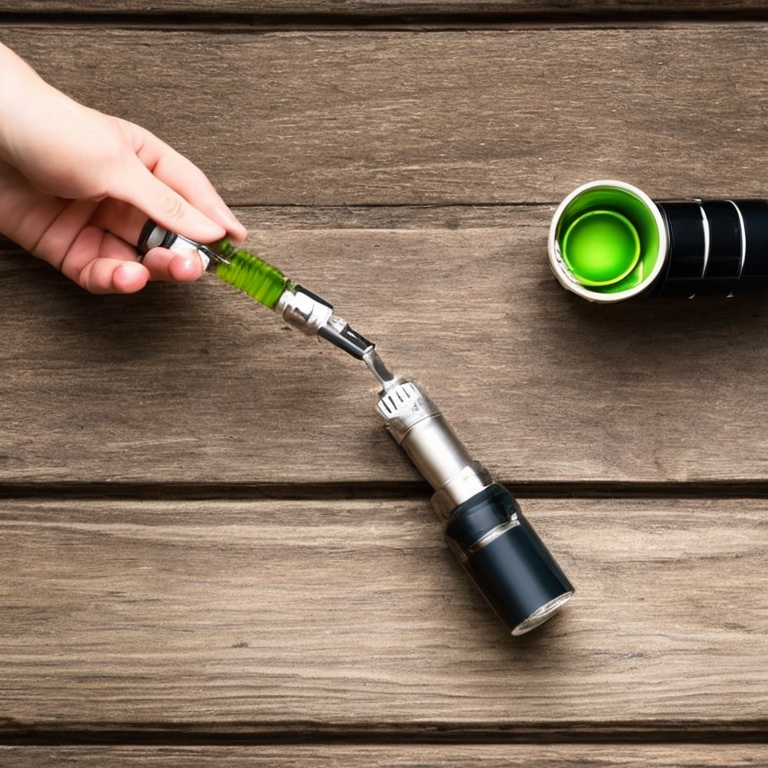
Step Two: Fill the Vape Tank
Use a nozzle or dropper bottle to fill the tank most of the way, but leave a bit of empty space at the top. After filling, close up the tank tightly by screwing the top cap back on securely. Tightness prevents leakage.
Clearomizers vs. RDA/RDTA
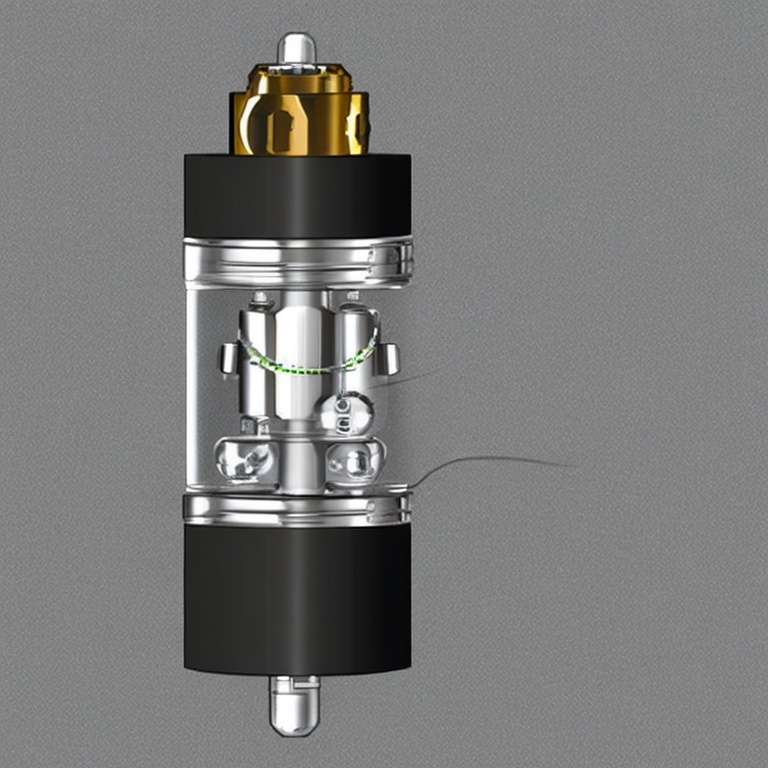
Tanks that hold e-liquid come in two main styles – clearomizers or rebuildable atomizers (RDA/RDTA).
- Clearomizers use pre-made replacement coils and are beginner-friendly. They include clear plastic tanks, pod systems, and coil heads for pens.
- RDA/RDTA require building your own coils and wicking. Advanced vapers sometimes use them for more customization.
For most beginners, a clearomizer tank or pod system will offer the easiest setup.
Opening the Tank
Carefully unscrew the top cap completely before filling any tank or pod. Avoid getting liquid into the center chimney.
Filling Procedure
Use a nozzle bottle to fill your tank most of the way, leaving a bit of empty space at the top. After filling, close up the tank tightly by screwing the top cap back on securely. Proper tightness prevents leakage.
Checking the Coil
Also check that the coil is screwed in properly before filling and vaping. Most clearomizers use a bottom or side-fitted replaceable coil structure. Make sure the coil is firmly attached.
E-Liquid Precautions
Only fill tanks with e-liquid or e-juice, never a mixture containing oils or fats which can cause lipid pneumonia if inhaled. Always keep e-liquid out of reach of children as nicotine can be toxic if ingested.
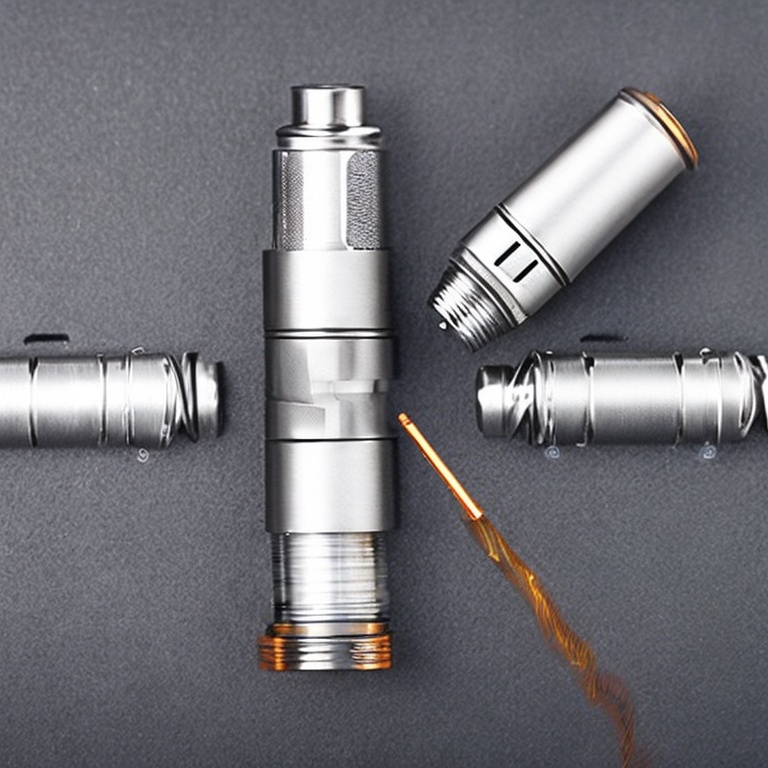
Step Three: Prime the Coils
New replacement coils need to be primed with e-juice before first use. This helps saturate the cotton wick inside the coil.
Replacement coils need to be fully primed with e-juice before their first use. This saturates the cotton wick inside the coil.
To prime:
- Put 2-3 drops of e-liquid directly into the sides and center of the new coil, where the cotton is exposed.
- Let it soak for 5-10 minutes, allowing time for the cotton to become fully saturated.
- Start vaping at a low wattage and gradually increase the power.
Properly priming coils prevents dry or burnt hits. After heavy use, coils should be replaced every 1-2 weeks on average.

Step Four: Assembling the Tank and Battery
Once filled and primed, the tank can be securely attached onto the battery or mod device.
- For vape pens, simply connect the tank onto the battery stick by screwing together or sometimes clicking into place magnetically.
- Pod systems allow you to slide or snap the pod into the housing.
- Box mods require attaching the tank onto the 510-threaded mod box battery connector.
Checking the Connection
Carefully check that the tank is firmly fixed in place and assembled properly before vaping. There should be no gaps or loose parts. This prevents leaking and ensures proper functioning.
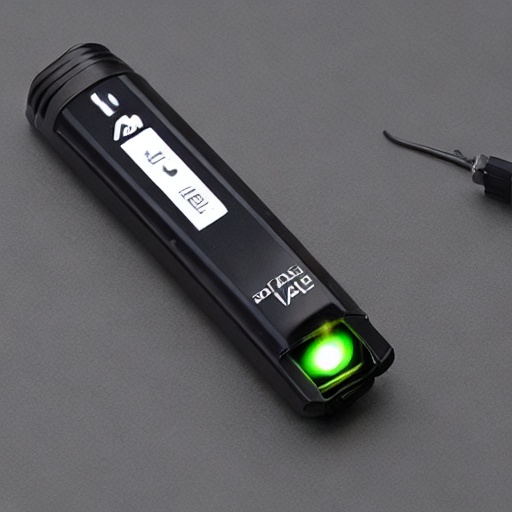
Step Five: Turn On the Battery
To power on most regulated box mod batteries, quickly click the fire button 5 times in a row. This will cause the LED screen to light up and display readout info.
Adjust settings like wattage or temperature as needed, starting low and increasing slowly. Ensure the battery has sufficient charge as well.
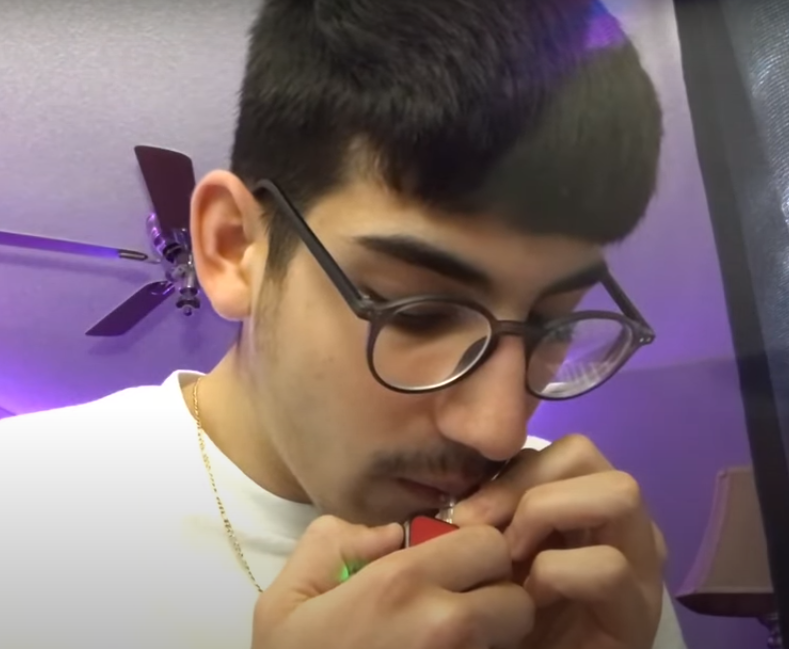
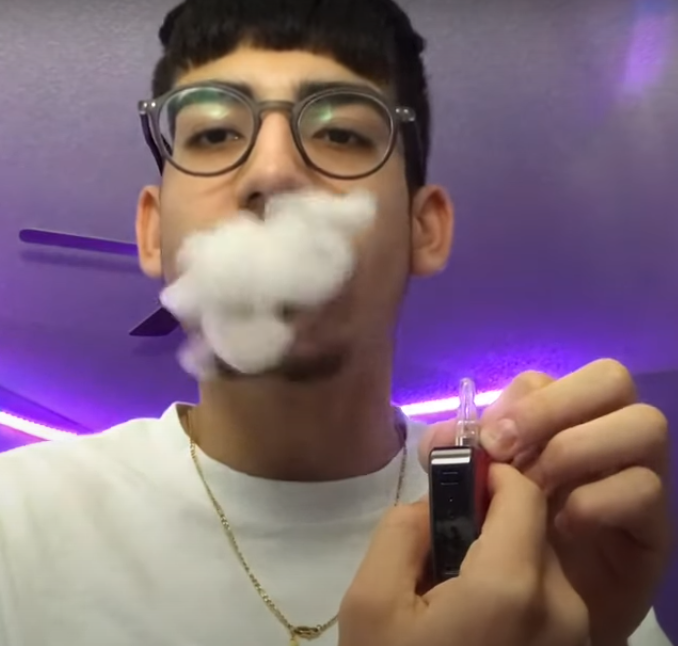
Step Six: Take a Draw
Hold the vape up to your mouth, pressing and holding the fire button as you inhale. Take slow, steady puffs for about 3-5 seconds at a time.
Inhale the vapor into your mouth first before pulling it into your lungs.
Exhale slowly and wait at least 15 seconds between puffs to avoid overheating. The proper inhale technique provides the best flavor and vapor production.
Step Seven: Change the Coils
Over time, coils become worn and stop performing well, usually after about 1-2 weeks of use depending on vaping habits. Symptoms of a bad coil include reduced vapor, muted flavor, gurgling sounds, or a burnt taste.
When this happens, unscrew the old coil and replace it with a new primed one, screwing it securely into the base. Be sure to clean tanks and parts regularly as well.
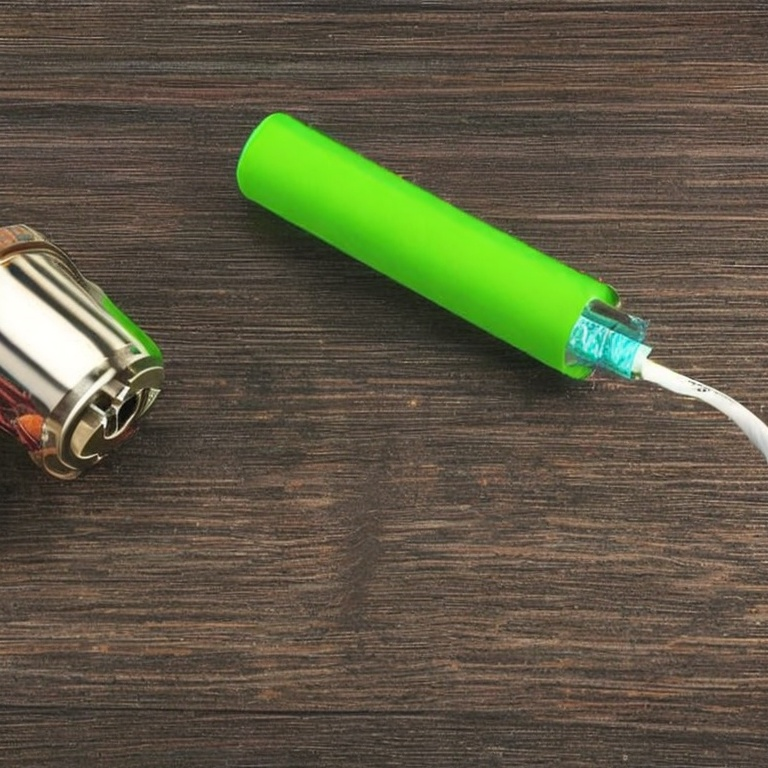
Step Eight: Charge the Batteries
Since vapes use rechargeable lithium-ion batteries, they require external charging when the battery dies. Key charging safety tips:
- Use only the manufacturer recommended charger and cable for the specific battery type. Never attempt to charge via USB port or non-approved chargers.
- External chargers are safest. Charge batteries externally rather than internally through a mod, when possible.
- Avoid overcharging. Batteries should fully charge within 1-3 hours. Remove immediately once fully charged.
- Discontinue use and properly dispose of batteries with damage or excessive heating. Replace worn batteries.
- Carry spare fully-charged batteries when leaving home to avoid being left without power.
Following battery safety protocols prolongs cell life and prevents potential hazards like overheating and explosions from improper charging.
Additional Vaping Tips
Beyond the basics, here are some extra pro tips for an optimal vaping experience as a beginner:
Maintenance
- Clean tanks regularly, replacing e-liquid flavors to prevent lingering mixes.
- Avoid contact between e-liquids as this can shorten coil life.
- Wipe down mods to prevent sticky button issues and prolong functioning.
Storage
- Keep vape devices and batteries at room temperature away from extreme heat or cold during storage and transport.
- Store e-liquids in a cool, dark location out of direct sunlight and away from heat sources.
Safety
- Take care to keep vape devices upright when filled to prevent potential leakage.
- Keep out of reach from children and pets due to nicotine risks if ingested and choking hazards from small parts.
Common new user problems include flooding, spitback, and leaks. This guide from Vaping360 offers troubleshooting tips for common vaping issues.
Consult manufacturer guidelines for device-specific troubleshooting as well. Advanced vapers can also try their hand at building their own coils for maximum customization.
The Benefits of Switching to Vaping
For smokers looking for an alternative, vaping provides some potential upsides:
- Compared to traditional cigarettes, vaping can deliver nicotine without many harmful byproducts of burning tobacco and paper.
- Flavor options appeal to many looking to quit smoking. Popular e-juice flavors include fruit, dessert, mint, tobacco, and menthol.
- Moderate nicotine levels can help satisfy cravings for those quitting cigarettes. Nicotine concentrations can also be gradually reduced in e-liquids over time.
- Vaping produces an exhaled aerosol instead of smoke. Public health experts like UK Health Security Agency acknowledge vaping aerosol has fewer toxicants than cigarette smoke.
- For smokers unable or unwilling to quit nicotine cold turkey, vaping can provide a less hazardous alternative way of receiving nicotine. Harm reduction approaches improve individual and population health outcomes, according to a Cochrane Review.
However, vaping is not without risks:
- Nicotine remains highly addictive and can impede brain development in adolescents. Vaping is not advised for youth.
- Metal particles and flavoring additives have been found in some vape aerosols. Long-term effects require additional study.
- Battery explosions have occurred in rare cases, highlighting the need for proper charging and battery care.
- Dehydration and coughing can occur from vaping. Proper hydration and technique help reduce irritation.
Overall, vaping appears to carry fewer health risks than traditional tobacco cigarettes, but long-term data remains limited. Consulting a doctor before beginning vaping is advised. Appropriate regulation and quality standards for vape manufacturing can also help minimize harm.
Conclusion
Following proper filling, priming, assembling, battery safety, inhale technique, coil replacement, and charging protocols will ensure optimal performance from any vaping setup. Adjust nicotine concentrations and flavors to fit your preferences.
With routine coil changes and battery charging, vaping can provide an enjoyable alternative to traditional tobacco cigarettes.
