
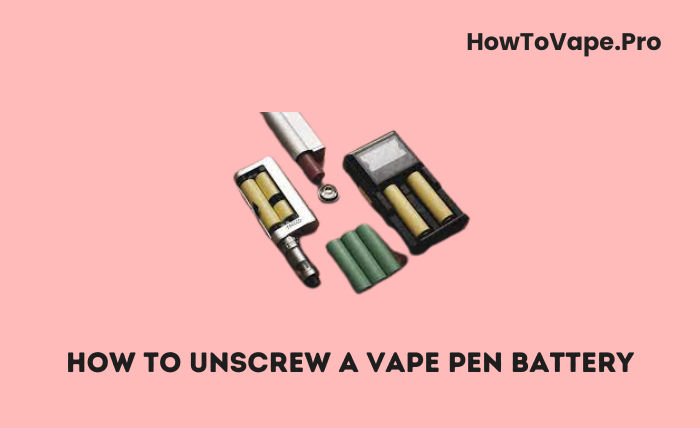
Vape pens are popular for their portability and versatility. But like any device, they require maintenance. One common issue vapers face is having trouble unscrewing a stuck vape pen battery.
If you’ve ever wondered how to unscrew a tightly lodged vape pen battery, this comprehensive guide is for you. We’ll walk through the step-by-step process, as well as tips to avoid stuck batteries and properly care for your vape.
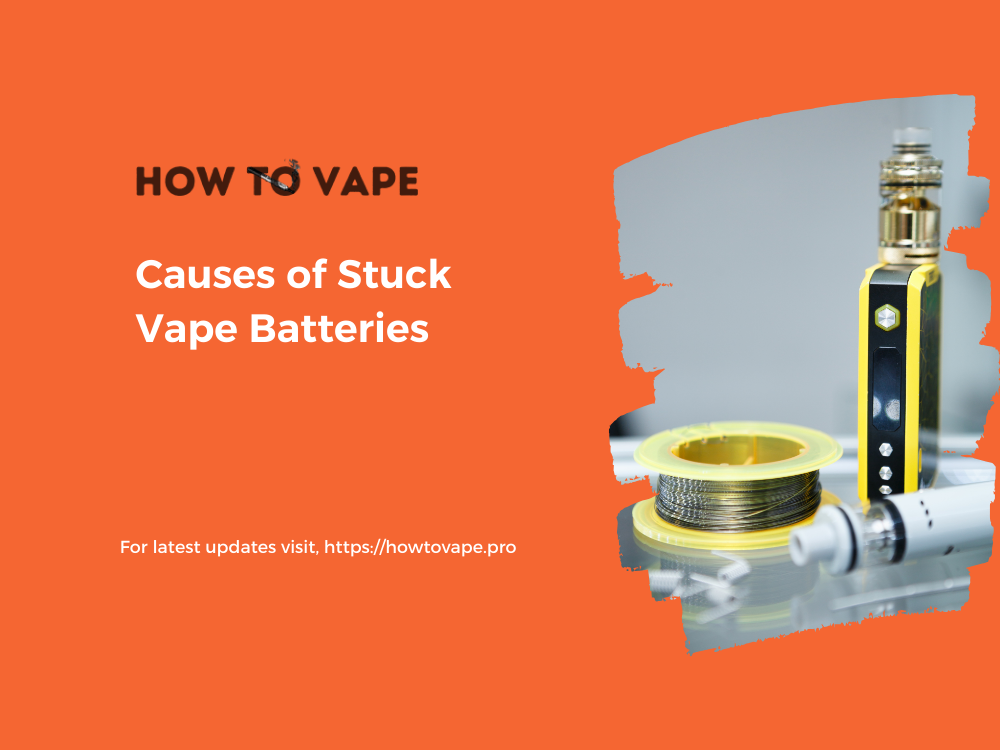
Causes of Stuck Vape Batteries
Before diving into the battery removal process, it helps to understand what causes them to get stuck in the first place. The main culprits include:
Over-Tightening
It’s easy to twist a battery too tightly out of habit. Over-tightening compresses the threads, making the battery nearly impossible to remove by hand.
Lack of Cleaning
Infrequent cleaning allows residue, liquid, and grime to build up on the battery’s threads and contacts over time. This accumulation can cement the battery in place.
Corroded Contacts
E-liquid leaks can cause the battery contacts to corrode, especially if acidic juice comes in contact with the metal surface. Corrosion essentially fuses the battery to the vape pen.
Damaged Threading
If the fine threads on the battery or vape device become stripped or warped, this prevents the pieces from screwing apart properly.
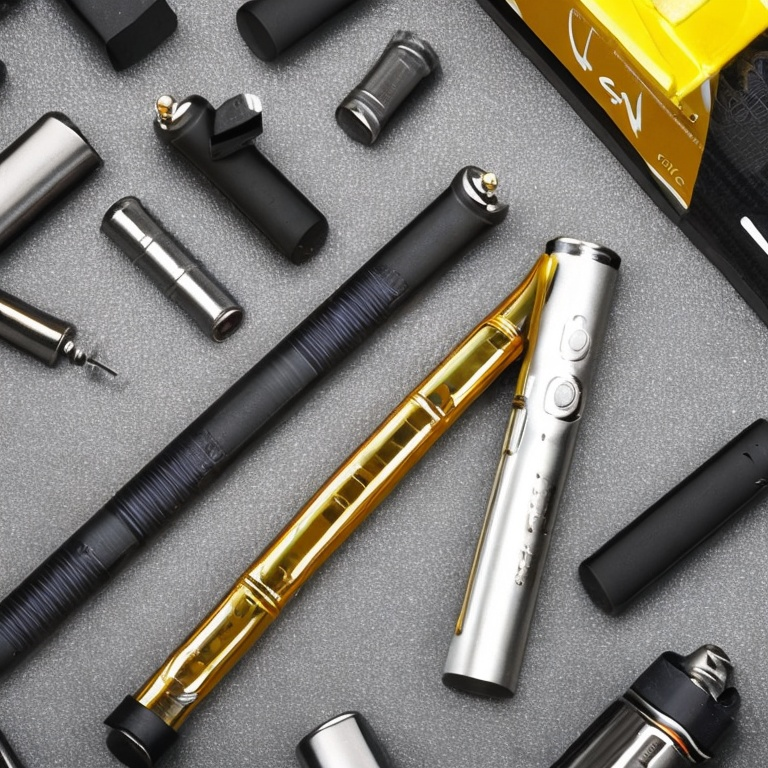
Step-by-Step Process: Unscrewing a Vape Pen Battery
The first thing to remember before diving into the steps is to ensure you’re taking the necessary safety precautions.
Step 1: Turn Off Your Vape Pen
Before attempting to remove the stuck battery, always turn off your vape pen.
Press the firing button 5 times rapidly to power off the device. This is a critical safety precaution to avoid accidental firing and potential injuries.
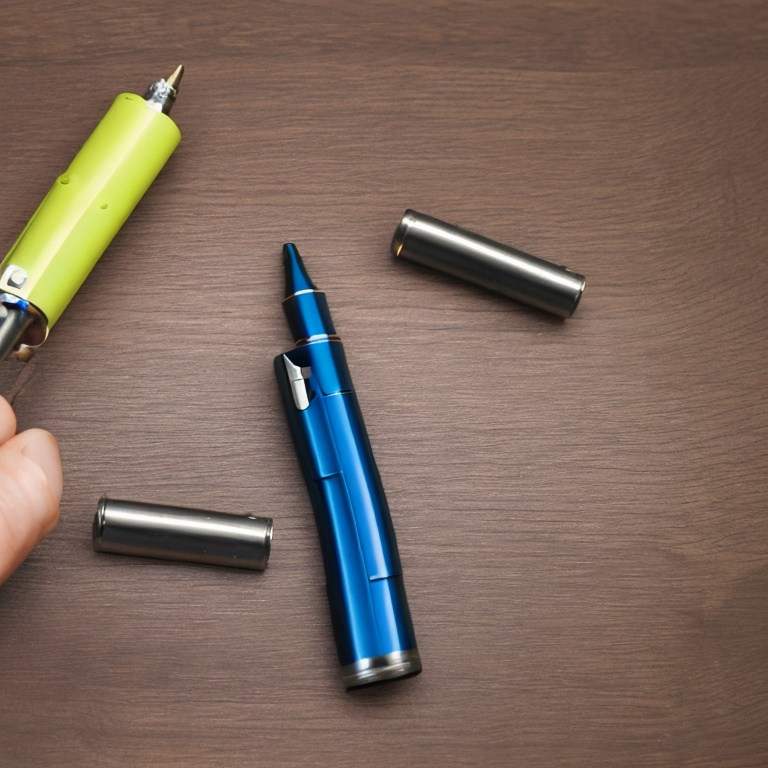
Step 2: Detach the Tank
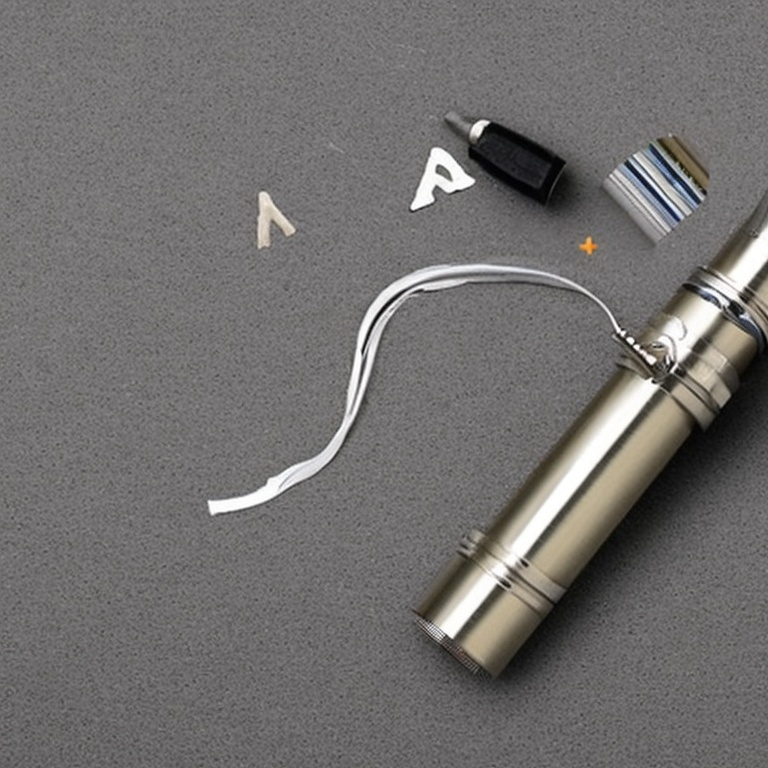
The next step is removing the tank or atomizer from the top of the battery.
Gently unscrew the tank in a counter-clockwise direction to separate it from the battery compartment. Take care not to spill any e-liquid in the process.
Detaching the tank provides easier access to the battery and prevents leaks while handling the device. Set the tank aside carefully.
Step 3: Secure Grip on Battery
With the tank removed, you’ll have a better grip on the battery housing.
Hold the battery gently but firmly in one hand, securing it in place. Avoid squeezing too tightly, as this could crush the thin metal housing.
Pro Tip: Use rubber gloves or wrap a rubber band around the battery for enhanced traction if needed.
Step 4: Turn Battery Counter-Clockwise
Here comes the tricky part – the actual unscrewing!
While firmly holding the battery stationary, rotate your wrist to turn the battery housing counter-clockwise. This is the direction to unscrew it.
Apply slow, gentle force while twisting. Too much pressure could damage the fragile battery threads.
If it doesn’t budge right away, don’t force it. Try alternating between wiggling and slowly twisting counter-clockwise. The rocking motion combined with gradual turning provides the needed momentum to break the seal.
Step 5: Loosen with Mail Opener (Optional)
If manually unscrewing remains unsuccessful, a stiff thin tool can help pry the battery free.
A metal letter opener or small flathead screwdriver are perfect options. The thin stiff end can gently wedge between tiny gaps in the threads.
Gently insert the tip of the opener diagonally along the seam between the battery and vape pen. Wedge it into any available space between the threads.
Slowly twist the opener, keeping pressure against the seam. The added torque from the rigid tool may provide the final nudge needed to dislodge the stuck battery.
Step 6: Clean Battery and Contacts
Once finally separated, cleaning is crucial before reassembling. Any built-up gunk must be removed to avoid the issue recurring immediately.
Dip a cotton swab in rubbing alcohol to sanitize the battery housing threads and the interior of the vape pen. This dissolves residue so it can be wiped away easily with a dry cloth.
Inspect the positive and negative contact points on both pieces. Scrub any oxidation or corrosion using a non-abrasive jewelry polishing cloth. This restores the conductive surface.
Allow all components to dry fully before reconnecting your vape tank and battery. Proper cleaning facilitates an easy, snug fit next time.
Preventing Stuck Batteries in the Future
A bit of preventative care goes a long way in avoiding stuck vape batteries. Follow these maintenance tips:
- Avoid over-tightening – Only twist until snug, don’t crank down with force.
- Clean regularly – Wipe down threads/contacts weekly to prevent gunk buildup.
- Lubricate threads – Apply a drop of e-liquid to the threads to keep them sliding smoothly.
- Replace worn batteries – Discard batteries with damaged wraps or stripped threads.
- Avoid juice leaks – Refill tanks carefully, store vape pens upright.
- Check o-rings – Make sure o-rings provide a tight seal to prevent leaks.

Proactive steps like these will optimize performance and extend the lifespan of your vape pen components.
When to Replace a Vape Battery
While stuck batteries can often be salvaged, sometimes they reach the point of no return.
Signs that indicate a battery should be discarded and replaced:
- Severely deformed or crushed battery housing
- Multiple deep gouges in threads or contacts
- Corroded contacts that cannot be cleaned
- Cracked or bloated battery wrap
- Non-rechargeable battery no longer holds charge
Batteries displaying this type of excessive wear likely cannot be revived. Properly dispose of faulty batteries and swap in fresh ones.
Removing Stuck Batteries: Tips and Tricks
Unscrewing a stubborn vape battery takes finesse. Follow these tips to help the process go smoothly:
- Use rubber – Rubber grips provide friction to turn the battery. Wrap rubber bands or cloth around metal tools if needed.
- Wiggle while turning – The rocking motion helps break the seal securing the battery in place.
- Lubricate first – Put a drop of e-liquid on stubborn threads and let it soak in briefly before trying to remove.
- Avoid excessive force – It may be stuck, but delicate components can be damaged by squeezing or prying too hard.
- Take breaks – If you’re struggling, set it aside periodically to avoid frustration. Come back with fresh patience and gently try again.
With the right technique and tools, those annoying stuck vape batteries don’t stand a chance!
Unsticking Stuck Batteries: Step-by-Step
To recap, follow these steps when removing a stuck vape pen battery:
- Turn off vape pen
- Detach tank from battery
- Grip battery firmly
- Twist battery counter-clockwise
- Try mail opener if needed
- Clean all threads and contacts
- Lubricate threads for next use
- Replace battery if damaged
Clearing the Grime
Regular cleaning is crucial to prevent build-up from locking your vape pen battery in place. Wiping the threads with a cloth and a small amount of rubbing alcohol can solve this issue.
Conclusion
Remember, understanding your device and taking good care of it will ensure a longer lifespan and a better vaping experience. Knowing how to unscrew a vape pen battery is a fundamental skill in this regard. Happy vaping!
Learning how to unscrew a stuck vape pen battery is a valuable skill for vapers. With this comprehensive guide, you now have the knowledge to tackle this common issue.
A few key takeaways: Work slowly and gently, use rubber tools for grip, clean thoroughly, and prevent problems by keeping up with device maintenance.
Read also: How to Fix an Overcharged Vape Battery: A Comprehensive Guide
People also ask
What do I do if I can’t unscrew my vape pen battery?
Here are some tips if you’re unable to unscrew your stuck vape pen battery:
Use rubber gloves or wrap a rubber band around the battery to get a better grip. The friction from rubber makes it easier to turn.
Try placing the battery in the freezer for 10-15 minutes. The cold can help contract the metal ever so slightly to break the seal.
Soak the threads in lemon juice or vinegar for 5-10 minutes. The acid helps dissolve any gunk or residue fused between the threads.
Hold the base stable and gently tap the tank with the back of a butter knife. The vibration can help loosen the stuck connection.
As a last resort, use pliers wrapped in cloth or tape to avoid scratching. Grip tightly on the tank base and turn slowly. But take care not to crush the battery casing.
If you’ve tried these methods multiple times without success, the battery may be damaged beyond repair and need to be replaced. Look for deep gouges in threads or severely deformed housing.
The key is using friction, vibration, or solvents to break the seal without damaging the components. Patience and gentle force is crucial. Seek professional help at a vape shop if you’re still unable to unstick the battery after trying these troubleshooting tips.
Is it safe to unscrew a vape pen battery?
Unscrewing a vape pen battery is generally safe if proper precautions are taken. Here are some tips for safely removing a vape battery:
Always turn the vape pen off before attempting to unscrew the battery. This prevents accidental firing which could cause injuries.
Be very gentle when unscrewing the battery. Avoid using excessive force or tools that may damage the delicate threads and casing.
Make sure your hands are dry when handling batteries to avoid shorts and electrical issues.
Check the battery wraps for tears before removing. Damaged wraps can expose the metal housing, increasing risk when handling.
Take care to keep batteries upright when unscrewing. Spilling e-liquid into the interior can cause fires or explosions.
Never try to pry batteries open. Lithium-ion batteries can explode if punctured or damaged.
Store batteries in a case when not in use for added protection.
How often should I clean my vape pen battery?
Regular cleaning at least once a week is recommended to prevent grime build-up.
Can I use any type of cloth to clean my vape pen battery?
A lint-free cloth is ideal for cleaning the battery to avoid leaving any residue.
Why is my vape pen battery stuck?
Over-tightening – Twisting the battery down too firmly can compress the threads and seal it in place. Avoid cranking it down excessively tight.
Lack of cleaning – Build up of e-liquid residue, leaking juice or pocket lint on the threads can “glue” the battery in place over time. Regular cleaning prevents this.
Corroded contacts – Juice leaks can cause the metal contacts to corrode, fusing the battery to the vape pen. Acidic e-liquid accelerates corrosion.
Damaged threading – Stripped, crossed or warped battery threads prevent it from screwing in and out properly.
Low quality materials – Cheaper vape pens may use lower grade metals and threads that strip easily.
Old batteries – As batteries age and wear down, the casing and threads become more prone to damage.
Temperature changes – Expanding/contracting metal from hot/cold environments can tighten the connection.
Manufacturing defects – Improperly cut threads or misaligned parts can lead to seizing.
