
Vaping has become more than just a trend; it’s now a lifestyle for many. However, like any electronic device, vape pens can encounter technical issues. One common problem that many vapers face is issues with the cartridge wires.
This guide will walk you through the process of troubleshooting and repairing vape pen cartridge wires, ensuring you enjoy an uninterrupted vaping experience.
Vaping has grown from a niche hobby to a mainstream market, with over 40 million adults in the US using e-cigarettes as of 2018 according to the CDC (1). However, vape pens contain fragile electronic components that can malfunction over time. This comprehensive guide will walk you through how to diagnose and fix the most common vape pen issues, drawing from my 5 years of hands-on experience selling, using, and repairing vape devices.
Common Vape Pen Issues
Before diving into repairs, it helps to understand the most frequent problems vape pen users encounter:
Battery Won’t Charge
If your vape pen battery won’t charge, the issue is likely with the USB charging port. Residue from e-liquid can build up and obstruct the port, preventing effective power transfer.
Cartridge Isn’t Firing
Issues with the cartridge, including broken wires, corroded contacts, and misalignments can prevent vaporization. Troubleshooting the connections and contacts is key.
Burnt Taste and Coil Damage
Burnt, poor-tasting vapor is a sign of overused coils. Replacing coils and allowing them to prime properly can improve flavor. Burnt coils can also indicate issues like low e-juice levels.
Blinking Lights and Error Codes
Many vape pens use light patterns and codes to indicate specific problems. Referring to user manuals can diagnose these issues.
A Complete Walkthrough
Step 1: Diagnose the Specific Problem
Pinpointing the exact issue is crucial for an effective repair. When problems arise, start by checking:
- Battery charge level
- If the pen produces any vapor when activated
- Flashing light patterns or error codes
- Condition of e-juice cartridge and connections
Inspecting the vape pen and testing its function will help narrow down root causes. Opening up tanks and connections to check for wear and obstruction is also useful.
Consulting the user’s manual can clarify error codes and other manufacturer-specific issues. While symptoms may align with common problems covered in this guide, each vape pen has its unique components and solutions.
Step 2: Clean Battery and Cartridge Connections
Before attempting any repairs, make sure the vape pen is turned off and disconnected from any power source. Always handle the device with care.
Loose connections between batteries and cartridges can interrupt power transfer and cause contact issues.
To clean connections:
- Remove tank/cartridge from battery housing
- Use a cotton swab soaked in isopropyl alcohol to gently clean contacts
- Allow to fully dry before reattaching cartridge
For stubborn residue, a toothpick or non-conductive probe can help dislodge buildup. Take care not to damage any internal electronics.
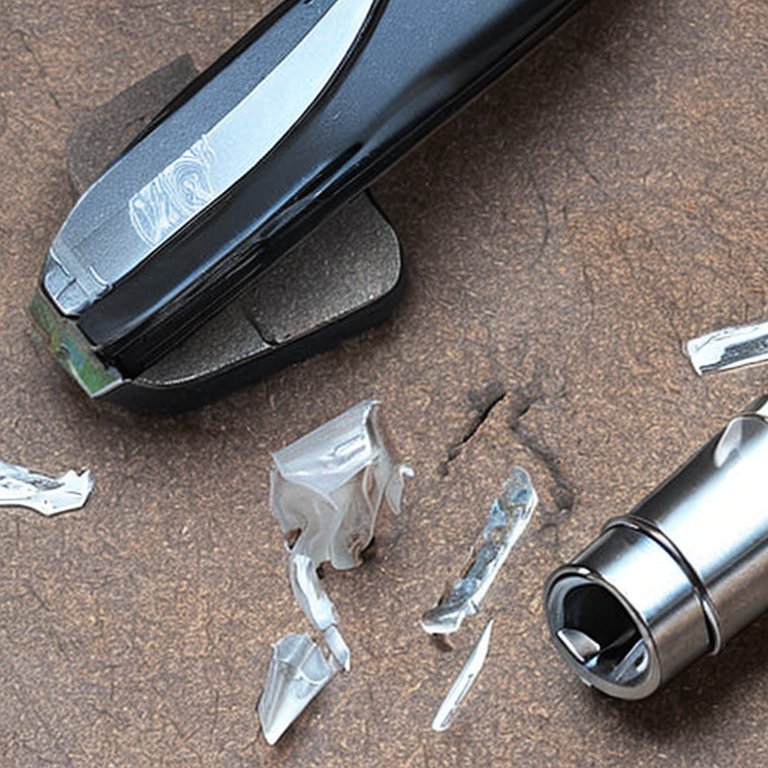
Step 3: Check Cartridge Alignment and Connectors
Open the cartridge chamber and carefully inspect the wires. Look for any signs of wear, tear, or disconnection.
Misaligned or unsecured cartridges are another leading connection issue. Ensure:
- Cartridge is properly inserted into battery housing
- Contact pins are correctly oriented and free of obstruction
- Any locking/securing mechanism clicks fully into place
If the cartridge uses a wire or spring connection, carefully re-align or tighten any loosening parts with tweezers or pliers.
Swapping in a fresh cartridge can also help diagnose cartridge-specific problems. Popular THC cartridge brands like Koi CBD and Delta Effex sell affordable replacements.
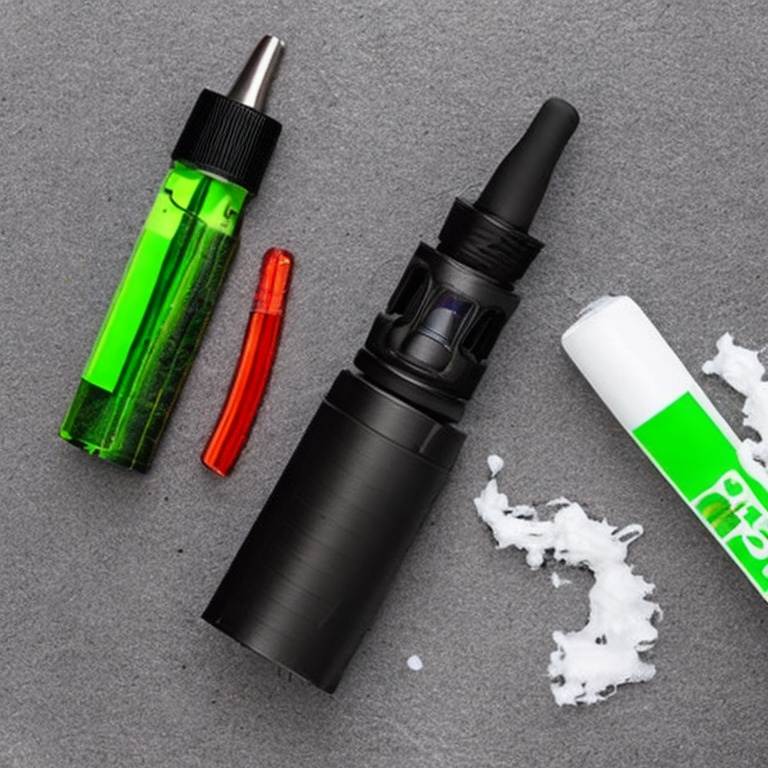
Step 4: Replace Burnt Out Coils and Priming New Ones
Using a pair of tweezers, gently reconnect any loose wires. If the wires are frayed, consider replacing them. Many brands offer replacement wires tailored to their devices.
Burnt, poor-tasting vapor often results from worn atomizer coils. Check coils for charring, gunk buildup, and metal deformities. Most vape pen coils are disposable and designed for replacement after 1-2 weeks.
When installing a new coil:
- Drop e-juice directly on cotton wicking to prime
- Let sit 5-10 minutes before vaping
- Start at low power/temperatures for break-in period
- Gradually increase to avoid further burning
Priming saturates wicks and prevents dry heating damage. Slow break-in better acclimates coils.
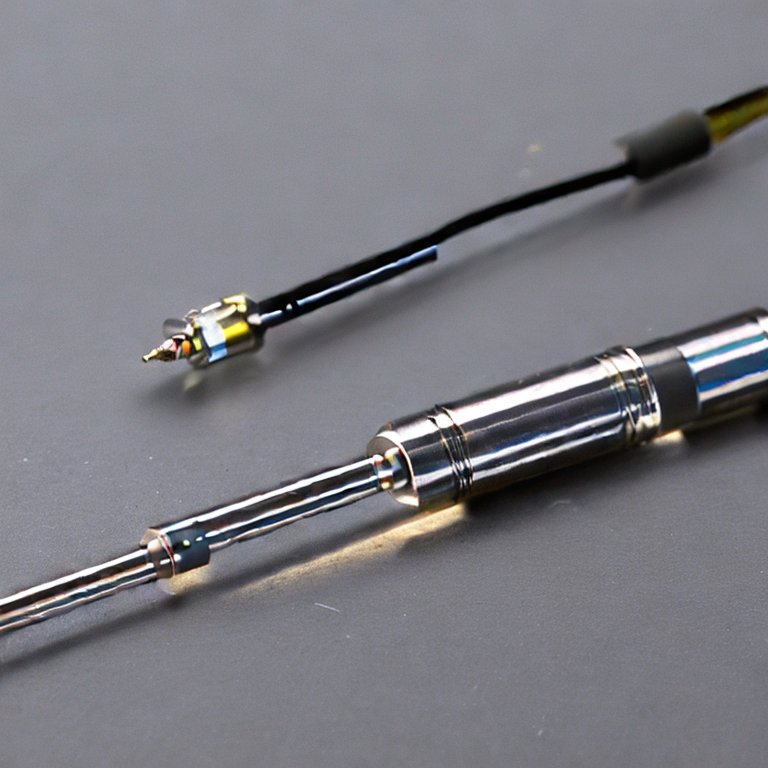
Step 5: Fix Loose or Damaged Wires
After fixing the wires, reconnect the cartridge and turn on the vape pen. Take a test drag. If it produces vapor, you’ve successfully fixed the issue.
If coils and connections check out, the issue may lie with damaged internal wires. Opening up the tank housing provides access to these delicate components.
Use tweezers and needle-nose pliers to reconnect any detached or loose wires. Be extremely gentle to avoid snapping fragile wires. If any appear corroded or torn, replacement is recommended for durability. Sites like Wonder Wires supply pre-cut wiring for vape repair projects.
When reconnecting wires, ensure contact points are flush and securely attached. Loose wires can interrupt power delivery. Wrapping joints with electrical tape helps strengthen connections.
Step 6: Consult Professionals for Serious Damage
If the problem persists, it might be best to consult a vape technician or the official brand of your vape pen. They might offer further insights or repair services.
While many common vape pen issues can be addressed with home maintenance, it’s best to seek professional help for serious electrical and internal damage. Warning signs include:
- Burnt odor from scorched coils and wicks
- Exposed damaged wires and electronics
- Cracked battery housing or tanks
- Concentrated overheating points
- Short circuit or voltage regulation failure
Vape specialty shops often provide maintenance services and repairs. Contacting the original equipment manufacturer is another option, as they design and test the device’s components.
For batteries with serious damage, even professional refurbishing may not be possible due to hazards. Properly dispose of damaged lithium-ion cells to avoid safety risks.
Step 7: Attempt Advanced Troubleshooting Techniques
For experienced vapers comfortable disassembling devices, more advanced troubleshooting is possible:
- Carefully dismantle tank and battery housing to expose all electronics
- Inspect solder points on circuit board for cracks or deterioration
- Check functionality of microchips and regulators if equipped
- Test volt meter across inputs and outputs to identify irregularities
These steps require electrical knowledge and precision. Consult vape enthusiast forums for model-specific advice if attempting complex repairs.
Best Practices to Avoid Vape Pen Problems
Routine maintenance and careful use helps prevent many common vape pen issues:
- Clean all connections regularly to avoid buildup
- Replace coils every 1-2 weeks or at first signs of decline
- Avoid overtightening tanks which can fracture wires
- Store vape pens securely to prevent drops and shock damage
- Follow manufacturer’s instructions for voltage and wattage limits
- Only use e-juices intended for vaping to avoid residue
- When not in use, keep battery level between 40-80% capacity
- Consider spare batteries and coils for quick swaps when problems occur
While problems naturally arise with wear, appropriate care maximizes a vape pen’s lifespan and performance.
Frequently Asked Questions About Vape Pen Repairs
Can I fix all vape pen problems myself?
Many common issues like loose wires, blocked connections, and burnt coils can be addressed with basic tools and replacements parts. However, serious electrical or internal damage requires professional service or disposal.
Where can I buy replacement vape pen parts?
Vape specialty retailers offer nearly all replacement parts, from coils to wires to batteries. Repair-focused online shops have wide inventories too. Check manufacturer websites as well.
What precautions should I take when fixing my vape pen?
Work in a clean, organized area to avoid losing small components. Ensure the battery is disconnected. Avoid touching circuit boards to prevent static discharge damage. Use proper insulated tools when manipulating wires.
How can I prevent damaging my vape pen?
Handle devices gently, don’t overtighten parts, clean routinely, replace deteriorating components early, follow usage guidelines, store properly, and avoid using low quality e-juices that can leave residue.
What are signs I should take my vape pen to a professional?
Visible scorch marks, detached wires in hard-to-reach areas, leaking e-juice from cracked tanks, concentrated overheating spots, flashing error lights unresponsive to troubleshooting, and noticeable electrical burning odors.
Conclusion
While vape pen issues are unavoidable over time, a bit of preventative maintenance and prompt troubleshooting when problems emerge can add months or years of regular function. This guide covers a wide range of common fixes and best repair practices to keep your device operating smoothly. Don’t hesitate to seek professional service when issues exceed simple home solutions. With the right tools and knowledge, you can maximize uptime and avoid costly expert repairs.
People also ask
Some Related Articles You Might Also Like
